

Calibration is where a density meter either stays useful for years or slowly drifts into a source of bad data. The good news is that tuning fork density meters are relatively stable. They do not drift as fast as some other sensor types. The less good news is that when they do drift, you need to know how to catch it before it affects product quality.
Factory Calibration vs Field Check
There are two different things people mean when they say calibrate. Factory calibration is the full procedure: multiple reference liquids, controlled temperature, documented calibration curve, signed certificate. That happens before the instrument ships, and again during periodic recalibration at the factory.
Field check is what you do on-site to verify that the instrument is still reading correctly. It is not a full recalibration. It is a verification step. But it is the step that actually protects your process between factory visits.
What You Need for a Field Check
Before starting, get two reference liquids with known densities at the expected process temperature. Deionized water is the usual low-density reference. A certified reference standard, such as a sugar solution or a calibrated density standard liquid, gives you the high-density point.
The reference liquids need to be traceable to a national standard. Using tap water or an uncalibrated solution defeats the purpose. Also make sure the reference liquids cover the temperature range you care about, or you will need to apply a temperature correction to the reference values.
Step-by-Step Field Verification Procedure
Step 1 — Stabilize the Instrument
Power up the density meter and let it stabilize for at least 15 minutes. The oscillator circuit needs time to reach thermal equilibrium. If the instrument has been off for a while, rushing this step introduces offset that looks like drift but is just warm-up.
Step 2 — Record the Water Reading
Immerse the fork in deionized water at a known temperature. Wait for the reading to stabilize, usually another 2 to 3 minutes. Record the displayed density and the temperature reading.
At 20°C, the density of pure water is 0.99823 g/cm³. If your instrument reads within its specified accuracy at this point, that is a good sign. If it is off by more than the specification allows, stop and check the installation before assuming the instrument is bad.
Step 3 — Check the High-Density Reference
Repeat the same procedure with your high-density reference liquid. Again, let the reading stabilize and record both the density and temperature. Compare the reading to the certified value at that temperature.
If both the low and high reference points are within specification, the instrument is in calibration. If one point is off but the other is good, the calibration curve may have shifted and a factory recalibration is probably needed.
Step 4 — Document Everything
Write down the reference liquid batch numbers, the temperature, the instrument serial number, the date, and who did the check. This is not bureaucracy. It is what protects you when someone questions a batch of product six months from now.
Common Reasons a Field Check Fails
|
Symptom |
Likely Cause |
|
Reading high in both references |
Buildup or coating on the fork prongs |
|
Reading shifts between checks |
Loose process connection or air bubbles |
|
Consistently off at one point only |
Calibration curve shift, needs factory recalibration |
|
Noisy or unstable reading |
Electrical interference or damaged cable |
|
Temperature reading is wrong |
Temperature sensor drift, affects density compensation |
When to Send It Back to the Factory
Field checks are verification, not recalibration. If the instrument fails the field check, or if it has been in service for more than 12 months, it is time for a factory recalibration.
At the factory, the instrument goes through a full calibration sequence with multiple reference liquids across the operating temperature range. The calibration curve is rebuilt from scratch and documented. This is also the time to have the instrument inspected for wear, especially if it has been in a corrosive service.
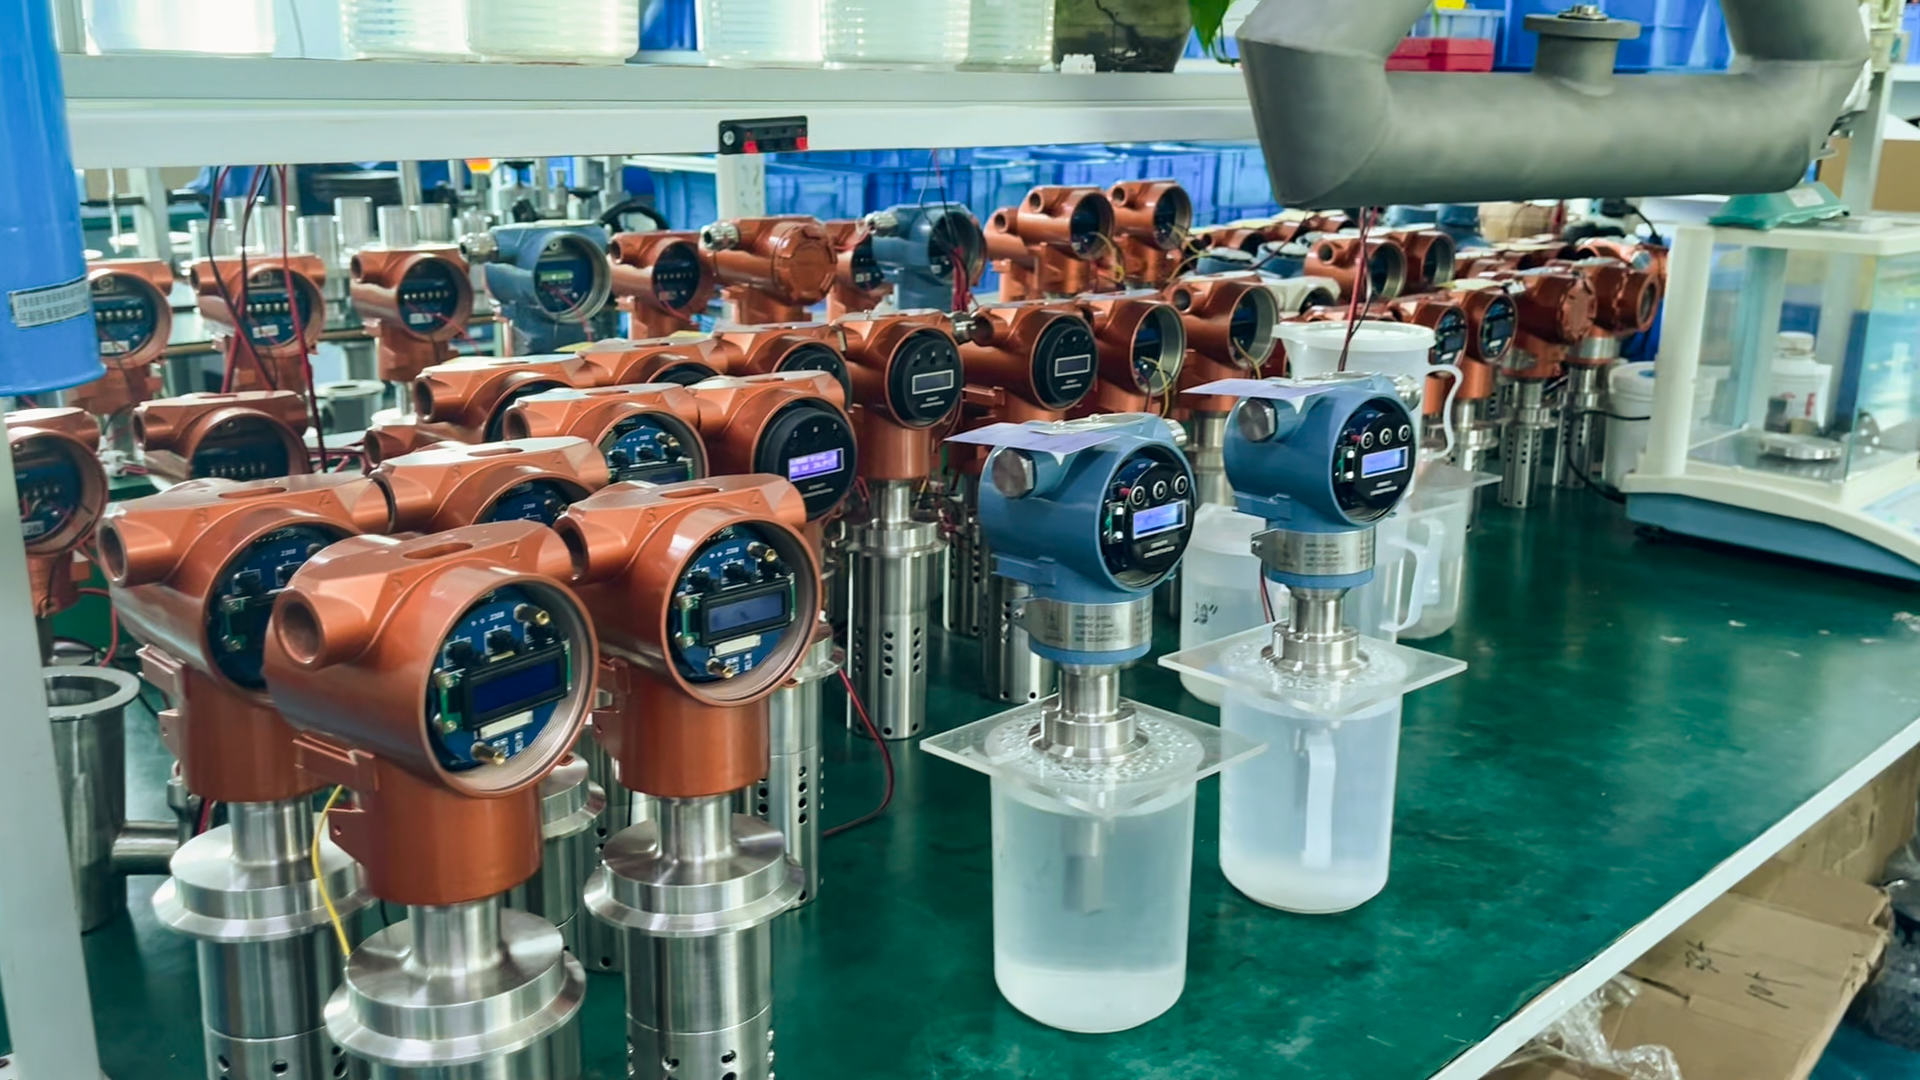
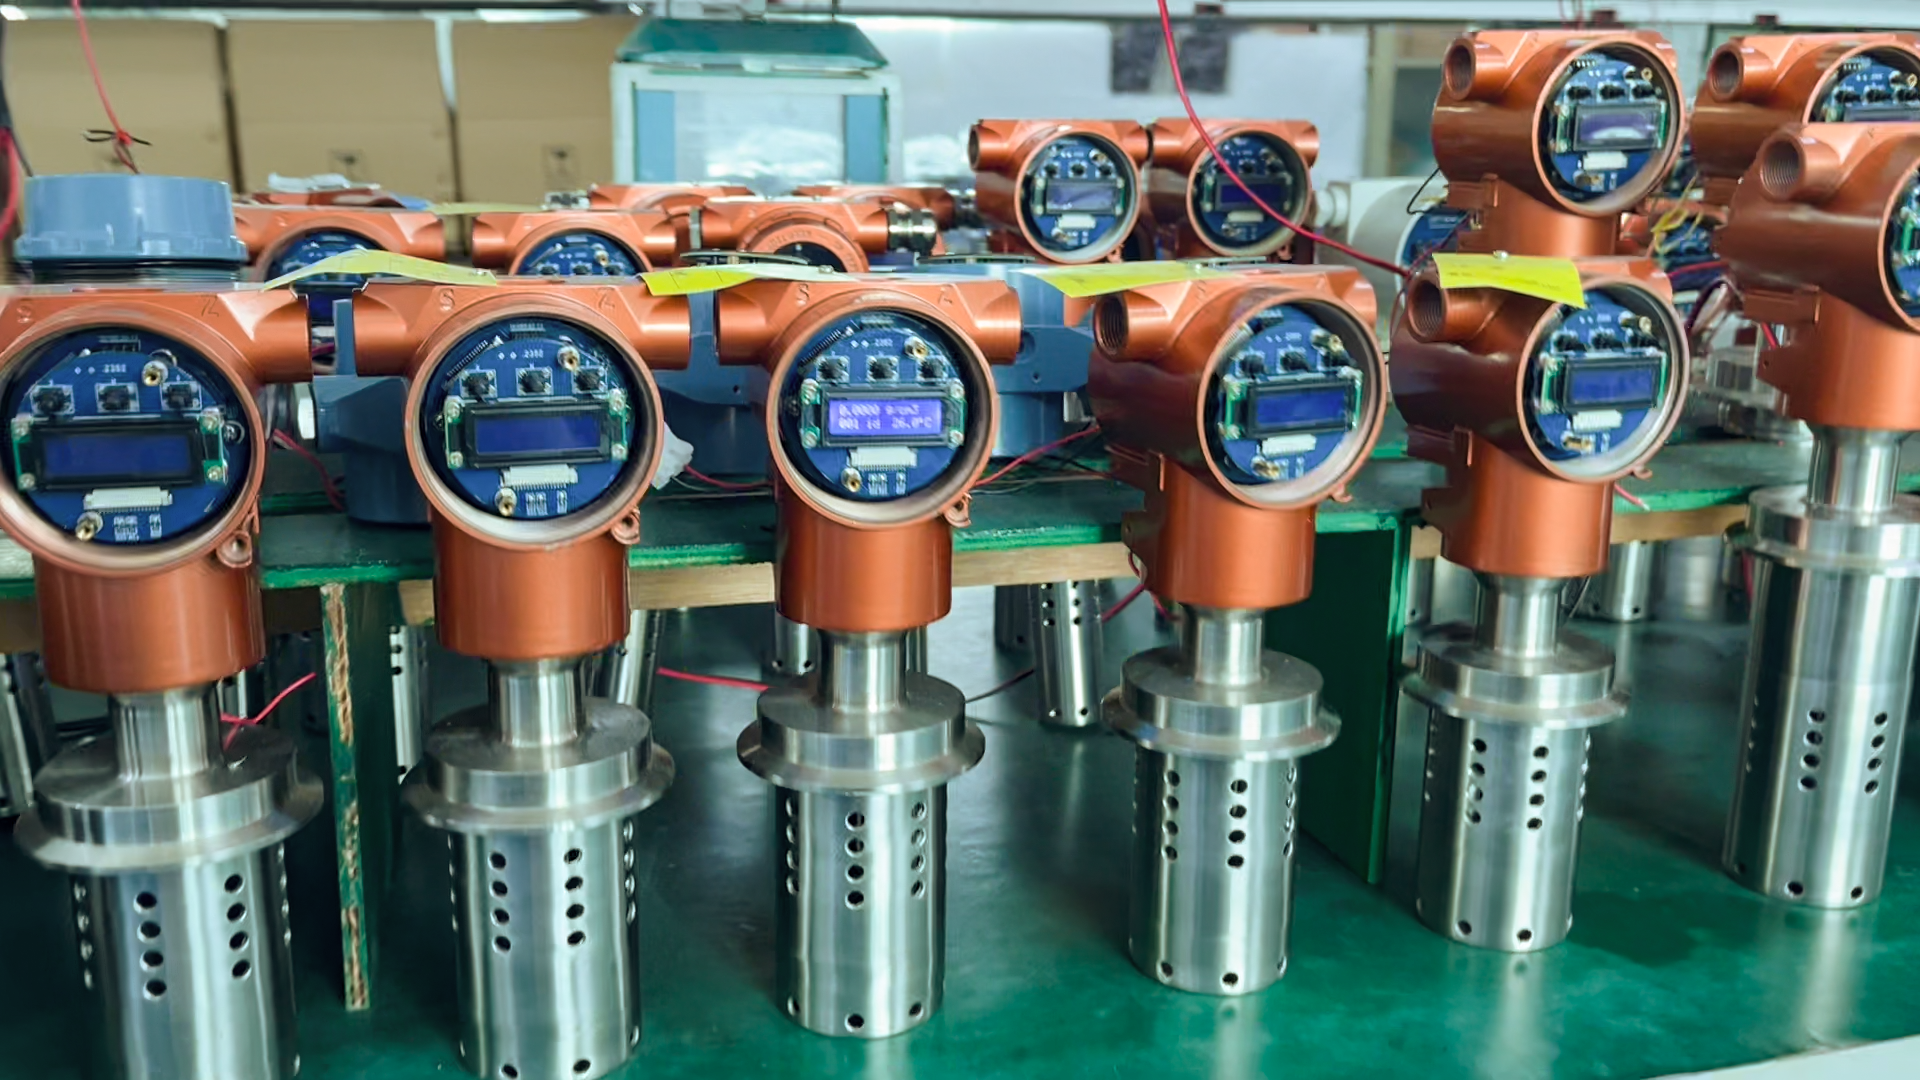
The LONNMETER LONN700 Calibration Approach
LONNMETER LONN700 density meters are calibrated at the factory against traceable reference standards. The calibration curve is stored digitally in the transmitter and covered by the factory calibration certificate.
For field verification, the modular design helps. If the fork sensor needs to be replaced, the new sensor comes with its own calibration data, and the transmitter does not need to be recalibrated. That reduces downtime and eliminates the need to ship the transmitter back to the factory for a simple sensor replacement.
If your LONN700 instrument is due for factory recalibration or you are unsure about a field check result, the LONNMETER technical team can advise on the next step.
Post time: Jun-08-2026


